


THE MAN BEHIND BLOGGERSIDEAS
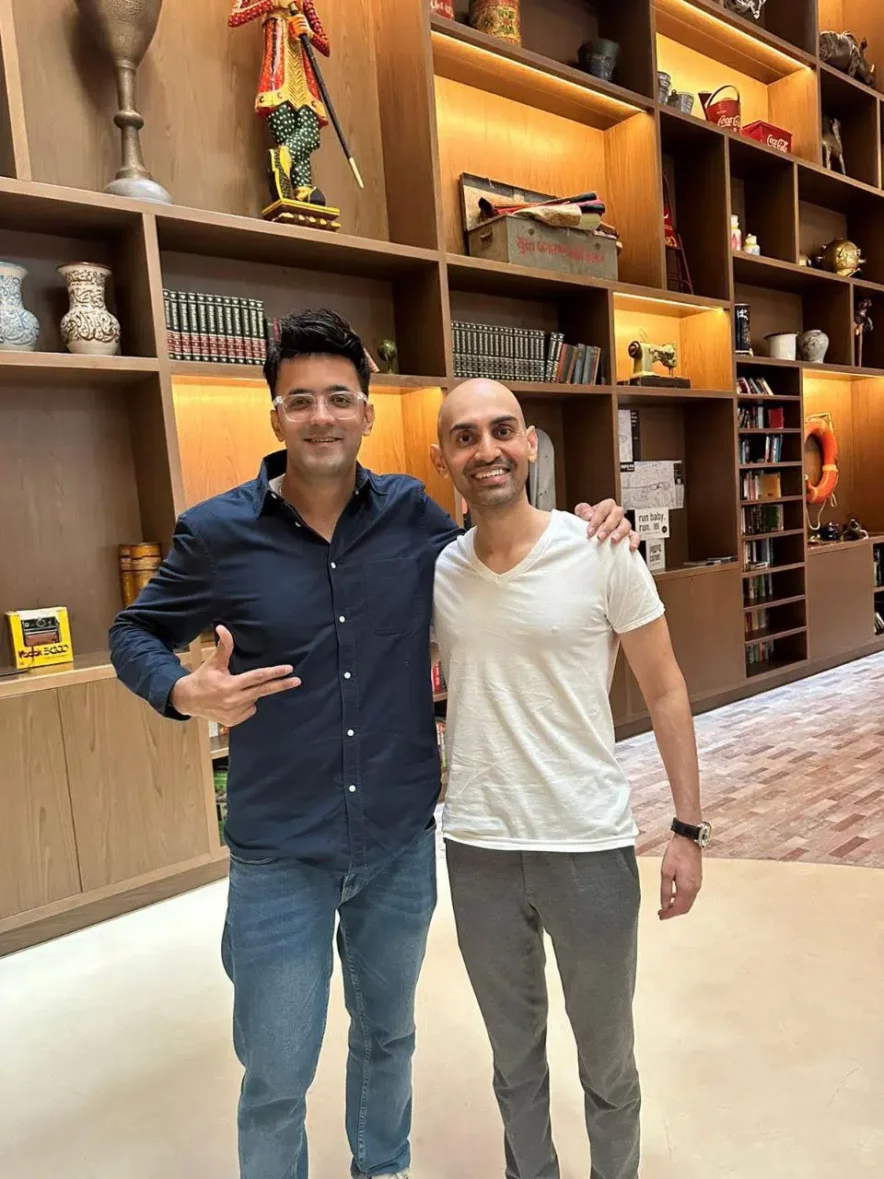
Jitendra Vaswani is a renowned digital marketing practitioner and global keynote speaker. He’s also a digital nomad, as he founded BloggersIdeas.com, a top Internet marketing blog, and Digiexe.com, a digital marketing agency. Jitendra is unmatched in his expertise in online marketing, with notable interviews from industry leaders like Neil Patel, Grant Cardone, and Rand Fishkin under his belt.
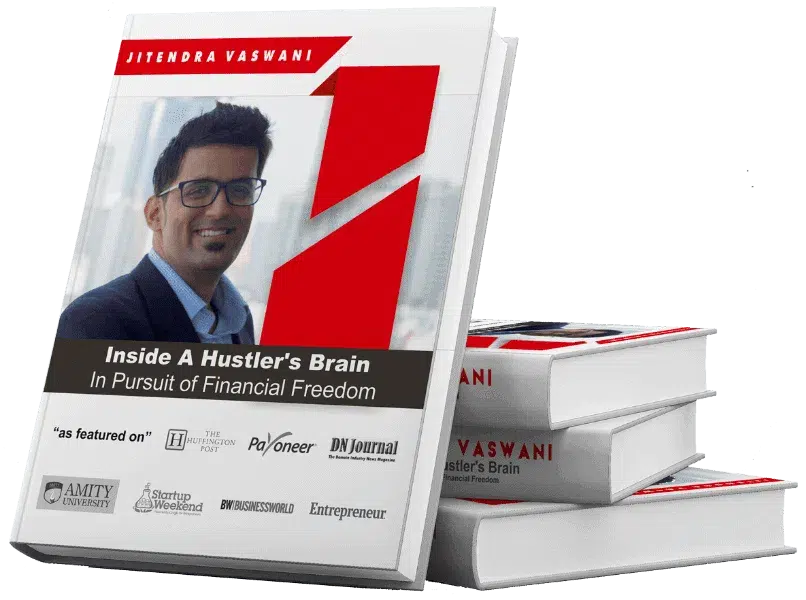
With over 8 years of experience in digital marketing his inspiring book ‘Inside A Hustler’s Brain: In Pursuit of Financial Freedom’ has become an international bestselling success and sold more than 20,000 copies worldwide.